
Getting started
Set up Mountain Passes in two minutes
Give Mountain Passes the location access it needs, learn the one rule behind automatic pass logging, and record your first ride.
Video guide coming soon. The written steps below cover the same ground.
Mountain Passes logs a pass the moment you cross it, with one rule attached: detection runs while a ride is recording. Start a ride when you set off, end it when you are done, and every pass in between is logged with its time and elevation. Setup is one permission and one look at the detection settings.
Before you start
- An iPhone on iOS 26 or later. Mountain Passes is an iPhone app.
- The free app is enough. Nothing on this page needs Pro.
Steps
- Open Mountain Passes and swipe through the introduction. On the Go Pro page tap Continue for Free (you can start a trial later from Settings).
- On Ready to Explore? tap Continue. iOS asks for your location: choose Allow While Using App and leave Precise switched on. Tap Get Started.
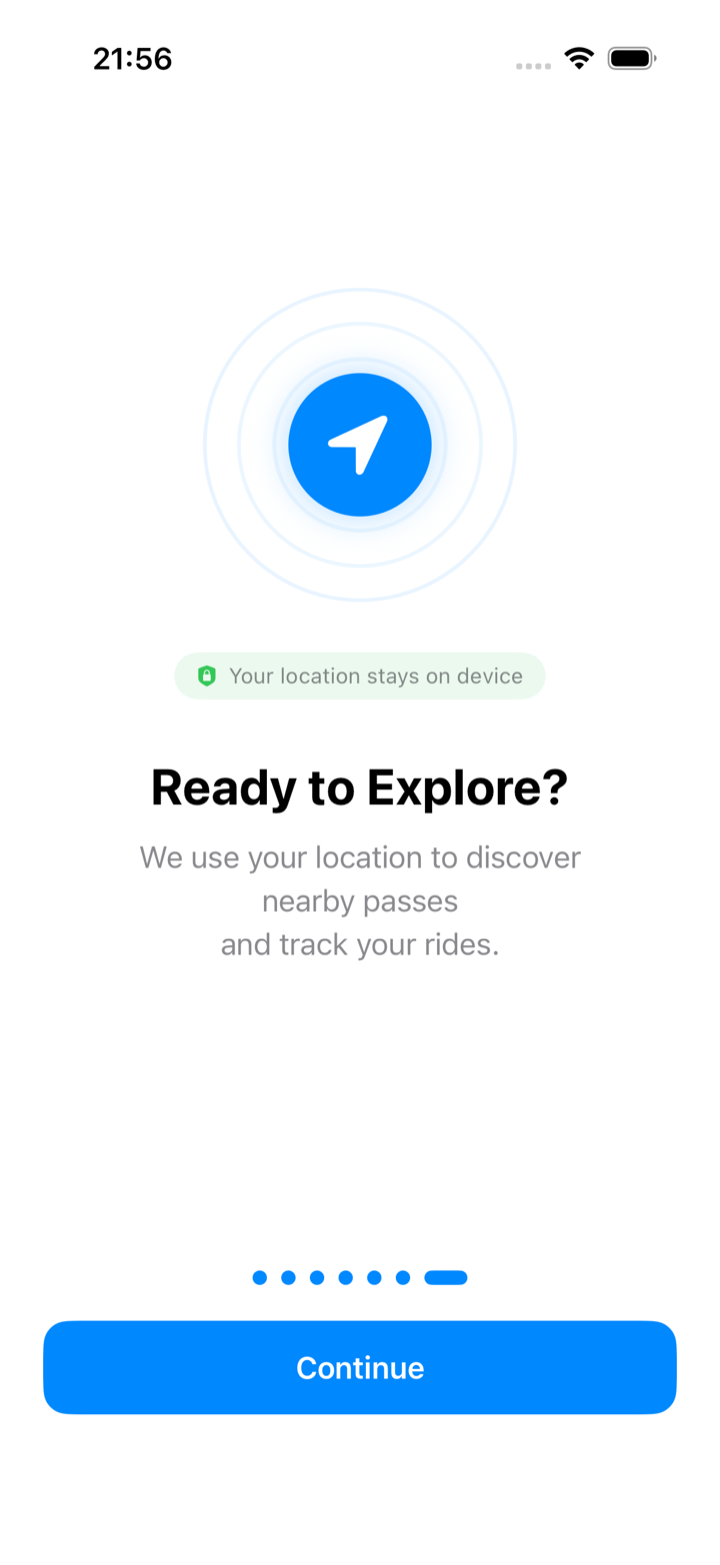
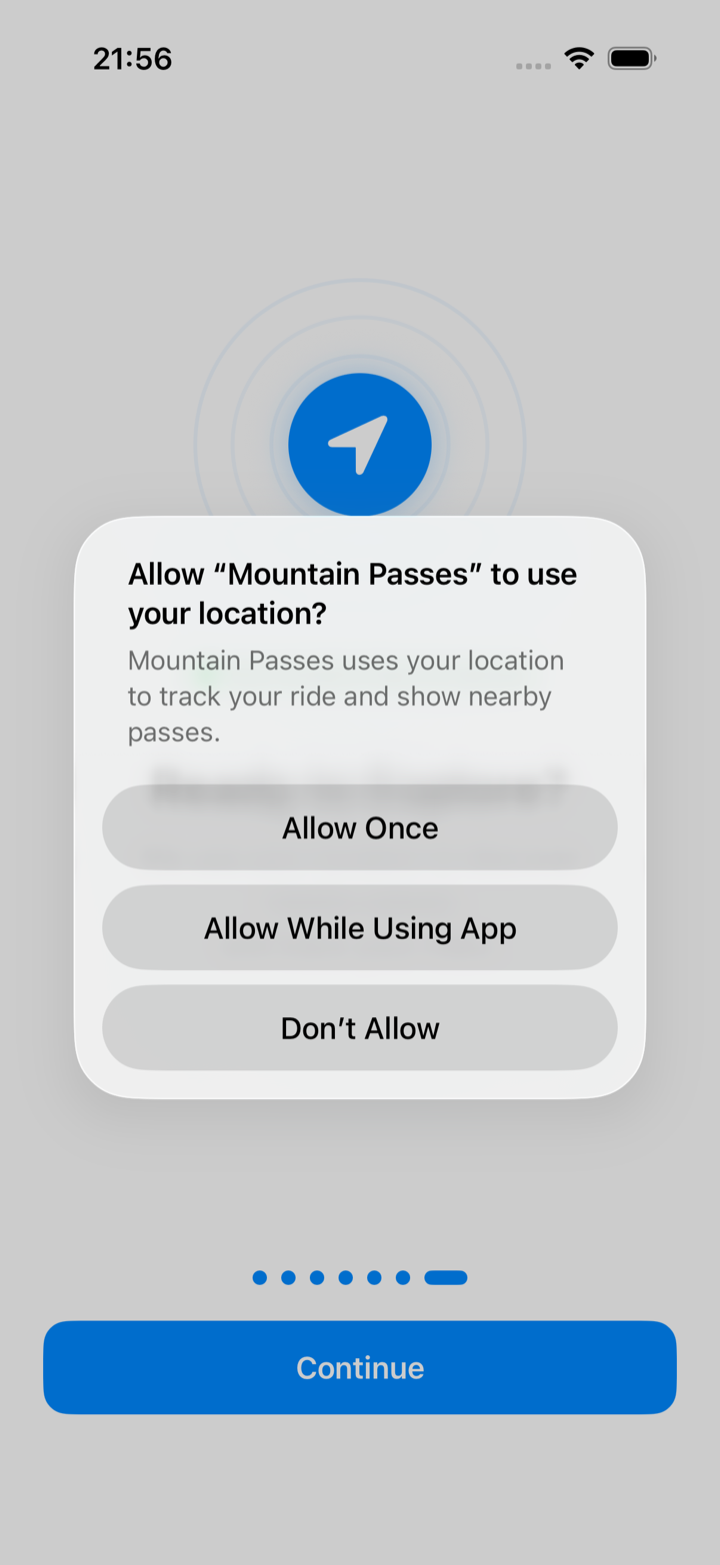
- That permission is enough for background tracking. When you start a ride the app opens a GPS session, and iOS keeps it running with the screen off or another app in front; the blue location indicator in the status bar confirms it. If you prefer Always, set it in iOS Settings; the app behaves the same either way.
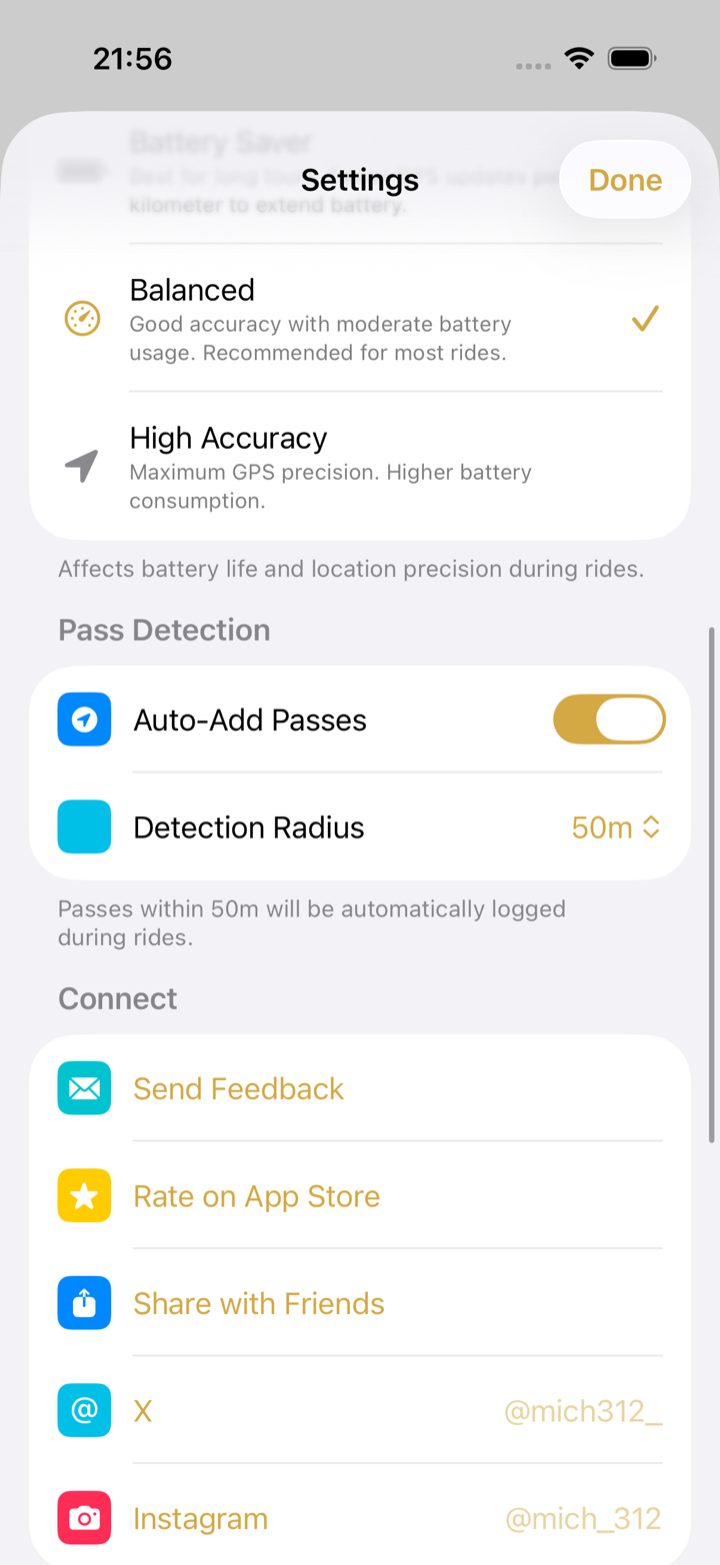
- Check the detection settings once. On Home, tap the gear in the top-left corner, then scroll to Pass Detection: keep Auto-Add Passes on and the Detection Radius at 50 m (the default). Choose 25 m for precision, or 100–200 m if your phone rides in a tank bag or the road runs a little below the summit marker.
- Open the Ride tab and tap Start Ride. That is the whole routine from now on.
Where to find it in the app
- Location access: iOS Settings › Apps › Mountain Passes › Location, set to While Using the App (or Always), with Precise Location on.
- Detection: Home › Settings › Pass Detection.
- Battery vs accuracy: Home › Settings › GPS Accuracy (Battery Saver, Balanced, High Accuracy). Balanced is the default and the right choice for a normal day out.
Your first pass
Start a ride and cross any road pass in the catalogue. The pass appears on the ride screen as soon as the app is sure you went over the top, and when you end the ride it is listed with the ride and counted in your collection. If the pass is one of the 311 with a vintage poster, the poster unlocks at the same time.
Prefer to confirm each pass yourself? Turn Auto-Add Passes off. The app then shows a Pass Detected! alert with a Log Visit button the next time you look at the phone.
Troubleshooting
- You tapped Don't Allow, or the prompt never came. Open iOS Settings › Apps › Mountain Passes › Location and choose While Using the App. Turn Precise Location on. Without it the app cannot tell the summit from the valley next to it.
- Start Ride asks for location access. Same fix as above; the app cannot record without it.
- Nothing was logged. See Why a pass didn't log. The usual reason is that no ride was recording.
- Worried about battery? Detection is designed for a full day on the road. See Battery, offline use and privacy.